Full Guide plus 60+ beautiful free designs
ideal for your wedding, baptism or other events

Intro
I feel very happy and proud to present the first DIY post of Make Happy Memories. The idea for the article popped into my head when I realized how many beautiful hand-made designs we have been experimenting with for wedding favor packaging this season. I decided it was time to share my creations with the community, hoping that it will make a cute and useful element in my readers events and we will receive good karma and vibes from all over the world. Feel free to comment with ideas for improvements or different combinations of patterns and there is a high chance your feedback will be used in future updates of the post.

How-To Instructions
For The full video with all the steps click here
Many don’t realize this, but it’s actually very easy to make professional-looking favor-boxes, once you know how, and this is one of the goals of this article: I am going to show you how to make favor boxes in extreme detail, making no assumptions, all the baby steps. There is a step-by-step written guide, accompanied with clear pictures for each part of the process. There is also a Instructional how-to Video that illustrates how to do one example, for those who prefer this format. Following the instructions, there is a huge gallery of 60+ designs you can use for free, so if you want to add style in your event (wedding, christening, baby shower, etc) with the latest trends in patterns, print the ones you like and make them. But be warned, you have to try to keep calm because with so many pretty choices you will find it hard to pick one!!
Materials
- Good quality, 148gsm (or similar weight) smooth, white Paper size of your choice (A4 works well)
- Color Printer
- Glue
- Pair of scissors
- Ruler or bone folder
- Candy (about jelly bean size)
Step-by-step Guide

Choose your Pattern(s) and the difficult part is gone. Print the template with a color printer.

Lets get started.

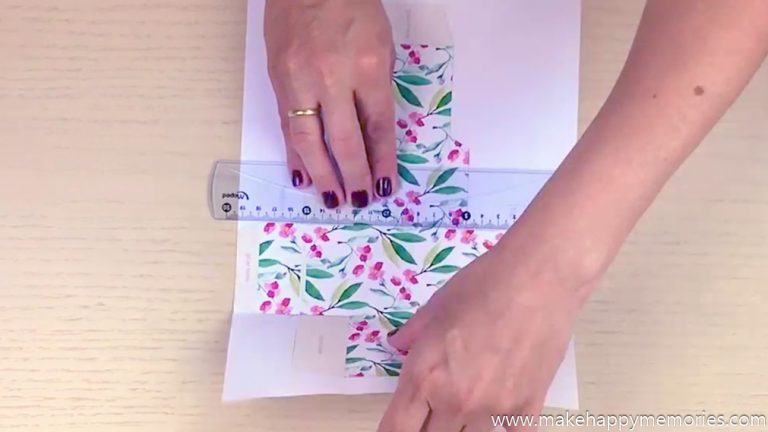
Score along the dotted lines.

You can use a bone folder or a plain ruler for speed and precision.

It’s easier if you score all the edges in advance, before cutting.

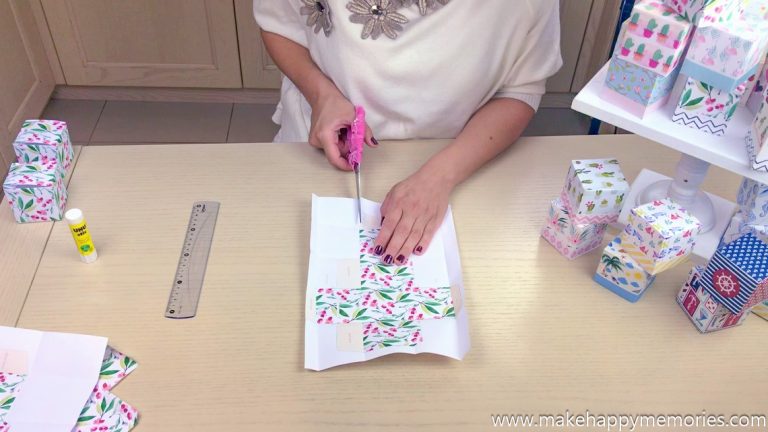
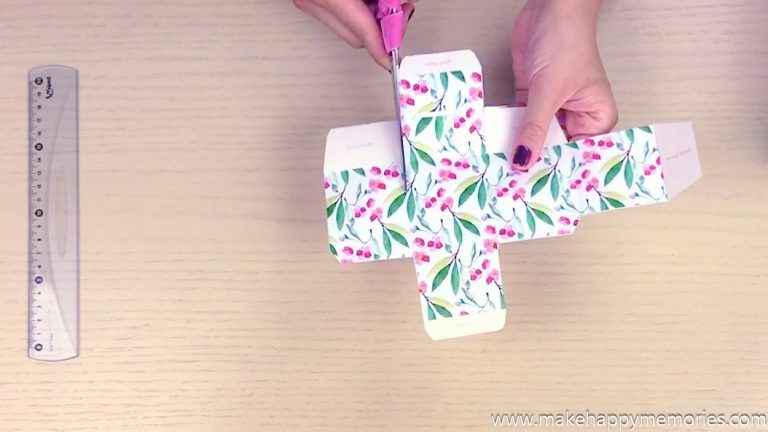
Cut around the design.

Cut through the design following the guides (solid gray lines).

Put glue where is indicated.

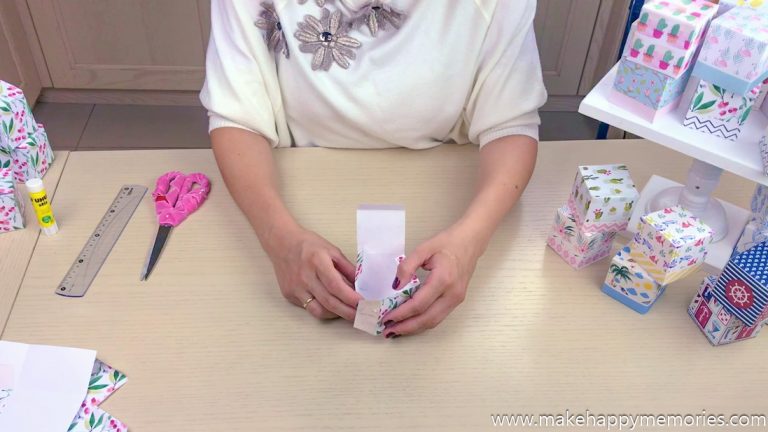
Fold the box together starting from the base.

Fold the sides of the box.

Apply pressure to help the glue stick stronger.

Well Done!
Watch the full video here: Instructional how-to Video
60+ Free Downloadable Favors-Designs
Here you’ll find a collection of templates you can use for free. The designs have been grouped and photographed in composites.
Hovering over a composite will reveal the individual Box Thumbnails and links to the corresponding template images you can print and cut. Clicking on the link labeled “printout” below each thumbnail will open on a new tab the printable, while clicking on the thumbnail will bring up a lightbox view in which you can see the boxes in full size and browse them with the arrow keys.


